Hey y'all! Thanks for stopping by for Wedding Wednesday! Today I have a super-quick tutorial on how to DIY bouquets. Can I just say that they are super-duper easy and I'm a total advocate for artificial bouquets?? The average cost for bridesmaids bouquets is between $50 and $150 each. In addition, most florists charge a delivery fee. With 5 bridesmaids, I would probably spend $300 at least. That isn't going to break the bank of course, but if flowers are not one of your priorities... save your money by using artificial bouquets! So with a 20% off coupon and $50 gift card, Mom and I headed to Michaels a few weekends ago and bought everything we needed for bridesmaids bouquets.... for a total of $91.17! Yeah!
Here is about 1/5 of our supplies (I had already made 4 bouquets when I took this picture):
These are some supplies you might need - floral stem wrap tape, floral wire, wire cutters, sharpie, and ribbon. One suggestion - invest in some nice wire cutters, because cutting stems can be tough without them!
Start by removing the leaves from the stem (save them, you'll need them later). Then arrange the flowers in a bouquet until you're happy with it. Use a sharpie to mark where to cut the stems. The length really depends on your taste - I would say around 7".
Once you get everything cut and arranged the way you want it, use the wire to hold everything together. I put it in three places, but two would work fine. Make sure to put it at the top and the bottom.
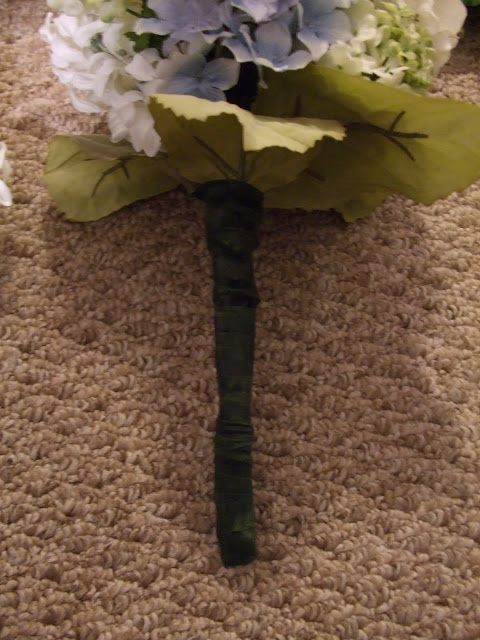
Add leaves around the bottom. Then wrap the stem in stem tape to smooth out the rough areas and reinforce the wire.
Finally, wrap the stem in ribbon and use an embellished pin to hold it in place. I haven't done this yet, but it probably would be a good idea to hot glue it in place as well. As a side note, I had originally planned to wrap only part of the stem, and leave the bottom unwrapped - I just like that look. But, the wire poked through the bottom of some of the stems and it didn't look so great. If you want, you can cut a short piece of ribbon to fold over the bottom, and then use a longer piece to wrap around it. Once you get to the top, fold the ribbon back before you pin it so you can't see where it frays.
Taa daa!
Then repeat for each bridesmaid!
I still have to wrap the stems of the other four... but you can get the gist!
Don't worry, those vases are only for storing (in a tote so they won't be squished or dusty 11 months from now). But, you know you like the pink one. HAHA! :) Even though we're not getting married until June, the bouquets are (almost) finished and paid for. Doing things
way ahead of time spreads out your payments
and keeps you from rushing through projects in the last few months. People might think you're nuts now, but when you're stress free the week before, you'll thank yourself. :)
So that's it for DIY bouquets - it's way easy and everyone should do it, in my humble opinion! :)


